Customizing a lid for your tins involves several steps and considerations, from the design process to the manufacturing details. The aim is to create a lid that not only fits securely but also enhances the overall aesthetic and functionality of the tin. Here’s a guide to customizing a lid for your tins:
### 1. Determine the Tin's Purpose
Before you start the design process, consider what the tin will be used for. The contents – be they food, cosmetics, or other products – can influence the type of lid you need. For instance, food items might require airtight seals, whereas decorative tins might focus more on visual appeal.

### 2. Choose the Type of Lid
There are several types of lids to choose from, each with its own functionality:
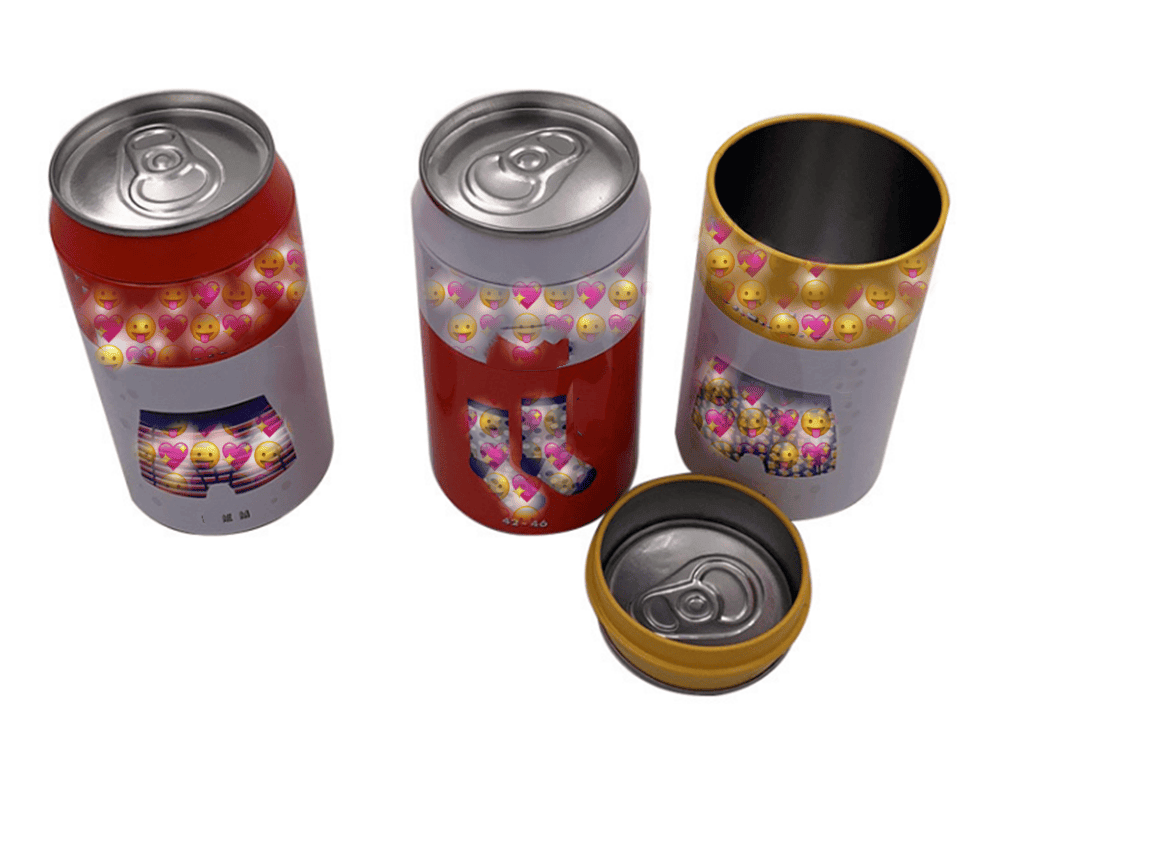
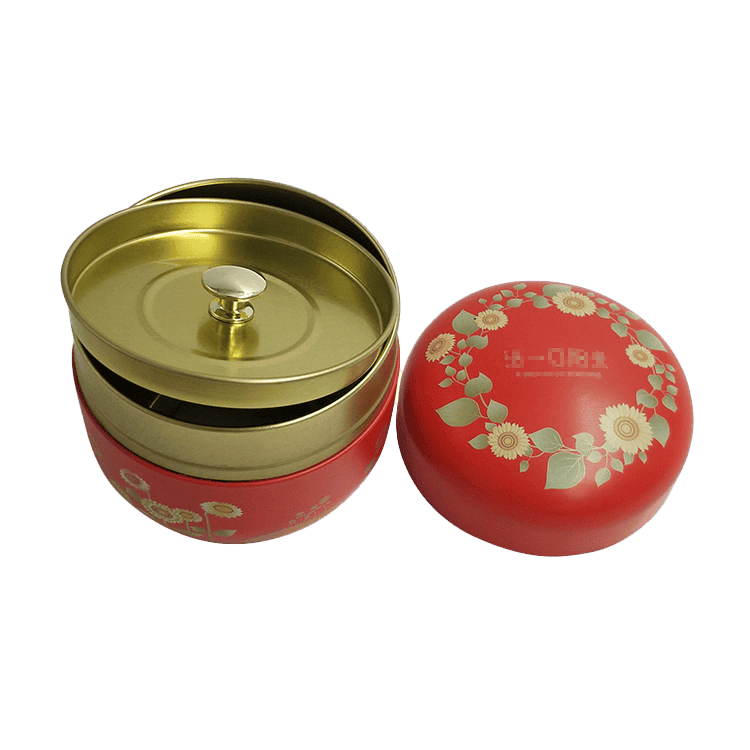
- **Slipcover Lids**: These lids simply slide on and off the tin. They are common for cookie and confectionery tins.
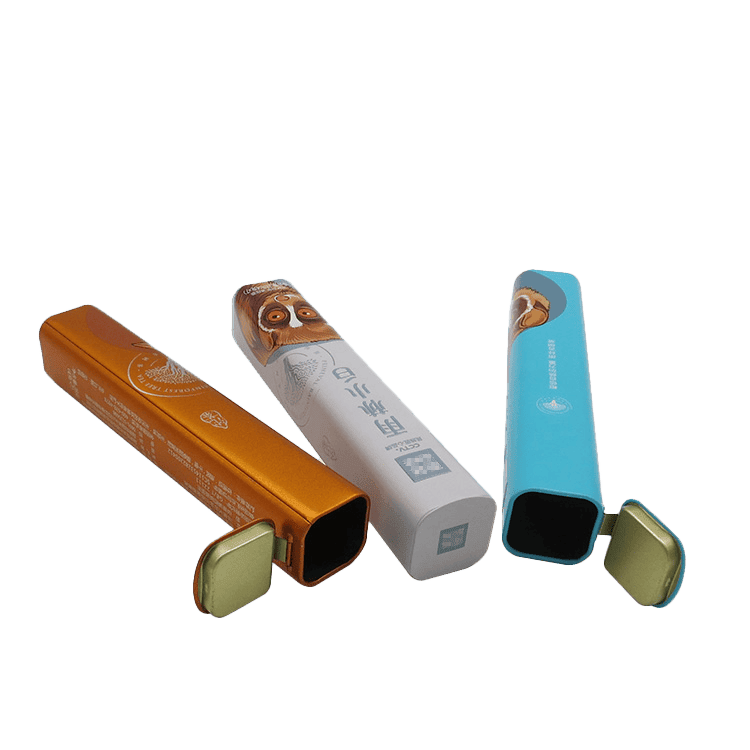
- **Hinged Lids**: Attached to the tin itself, these lids are convenient and reduce the risk of loss. They’re great for everyday use items.
- **Screw-Top Lids**: These provide a secure closure that's perfect for storing liquids or creams.
- **Plug Lids**: Also known as "push-in" lids, these provide a secure fit and are often used for candle tins or spice containers.
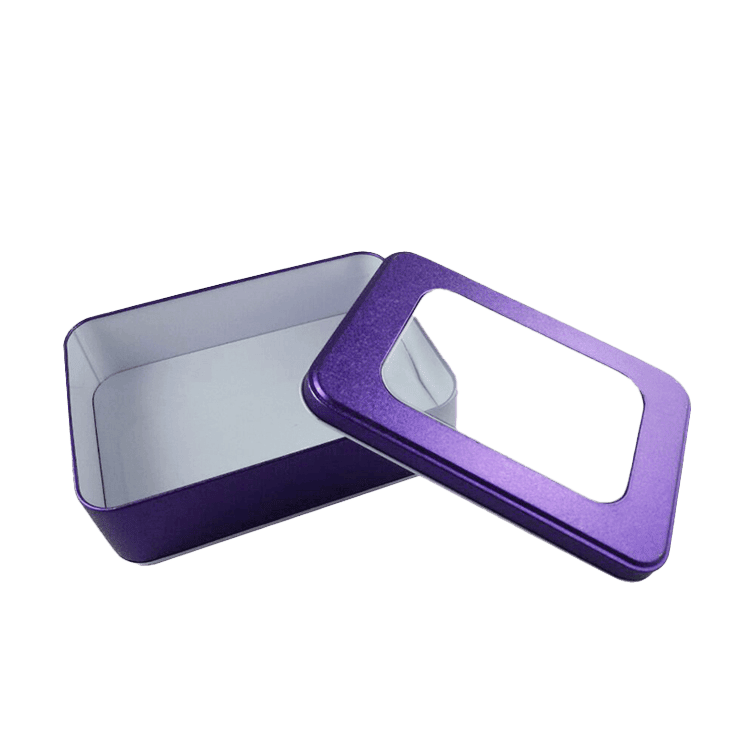
- **Window Lids**: These lids have a transparent window that allows customers to view the contents without opening the tin.
- **Stackable Rims**: If your tins are meant to be stackable, you might need lids with special rims to facilitate this.

### 3. Design the Lid
The design of the lid should align with your brand identity and the message you want to convey. It may involve:
- **Color**: Choose a color scheme that matches or complements the tin body.
- **Logo/Branding**: Place your logo or brand name prominently on the lid for brand recognition.
- **Artwork/Patterns**: Use artwork or patterns that appeal to your target audience and fit the product theme.
- **Finish**: Decide on a matte, glossy, or metallic finish, among others, depending on the look you’re aiming for.
- **Special Features**: Consider embossing, debossing, or adding special textures to the lid for a tactile experience.

### 4. Material and Coatings
The material for the lid is typically the same as the tin body, such as tin-plated steel or aluminum. You can also add coatings for added protection and to achieve certain visual effects. For example, a food-grade lacquer can be applied for tins intended for food products.
### 5. Prototype Your Design
Before going into full production, create a prototype of your lid. This allows you to see and feel the design in real life and make necessary adjustments. It's important to ensure the lid fits perfectly and meets your expectations in terms of design and function.

### 6. Manufacturing Process
Work with a reputable manufacturer who can produce the lids according to your specifications. They should be able to accommodate your custom design and provide you with samples before you commit to a large order.
### 7. Quality Control
After production, ensure that each lid passes strict quality control measures. They should fit securely on the tins, open and close smoothly, and the printing or finish should be free from defects.
### 8. Consider the Environment
In today's eco-conscious market, consider using recyclable or biodegradable materials for your custom lids. Communicating this to consumers can strengthen your brand's commitment to sustainability.
### Conclusion
Customizing a lid for your tins is a multi-step process that can significantly impact the presentation and functionality of your product. Through careful design, material selection, and collaboration with a skilled manufacturer, you can create a custom lid that not only meets your needs but also delights your customers. Remember to keep your brand identity, product safety, and consumer preferences at the forefront of your design to ensure the success of your custom tin lids.
