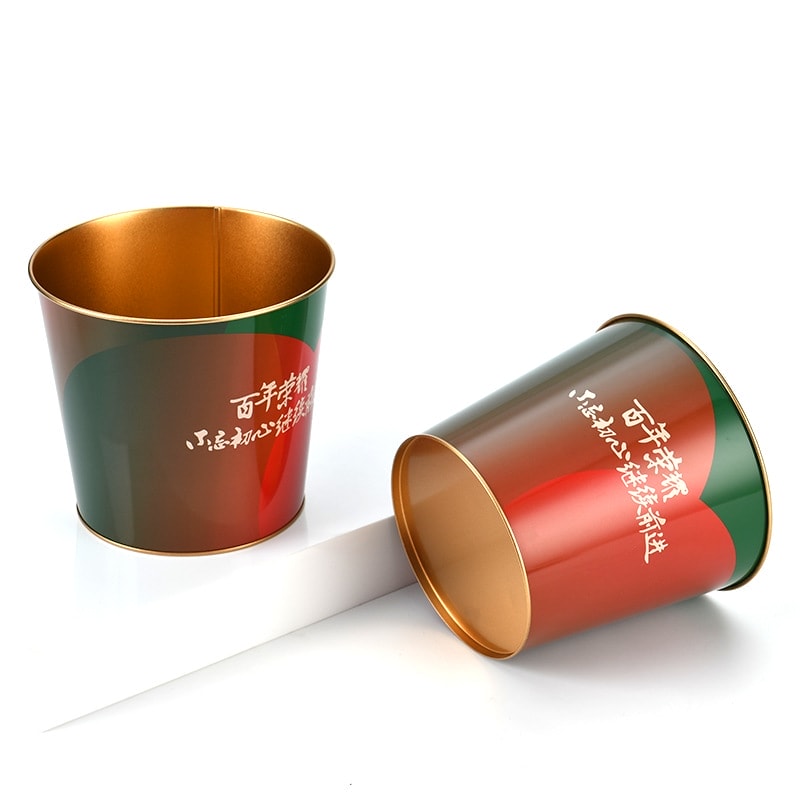
Growing grass in a tin container can be a charming way to bring a bit of nature indoors or create a unique container garden. Here's a step-by-step guide on how to grow grass in a tin container:
1. Choose the Right Tin Container :
- Select a tin container with drainage holes. If it doesn't have any, you'll need to create some to prevent waterlogging.
2. Prepare the Container :
- Clean the tin container to remove any dust or residues. If it's painted, ensure the paint is non-toxic or consider lining the inside with a plastic or cloth layer that's safe for plants.
3. Add a Drainage Layer :
- Place a layer of small pebbles or gravel at the bottom of the container to improve drainage.
4. Fill with Soil :
- Add a high-quality topsoil or a mix specifically designed for container gardening. The soil should be at least 2-3 inches deep to allow root growth.
5. Plant the Grass :
- You can either sow grass seeds according to the packet's instructions or use a small amount of turf or sod. If sowing seeds, make sure they are evenly distributed and press lightly into the soil.

6. Water :
- Water the soil gently but thoroughly after planting. Keep the soil consistently moist, but not waterlogged.
7. Provide Light :
- Grass needs plenty of sunlight to grow. Place your tin container in a location where it can receive at least 6 hours of direct sunlight per day.
8. Fertilize :
- Use a slow-release fertilizer or a liquid fertilizer designed for grass to encourage growth.
9. Maintenance :
- Keep the grass trimmed to the desired height. Use a pair of small scissors or a battery-operated trimmer suitable for small areas.
10. Monitor Growth :
- Watch for any signs of pests or diseases and treat them promptly.
11. Overwintering :
- If you live in a region with cold winters, consider bringing the tin container indoors or providing some form of protection to prevent the grass from being damaged by frost.