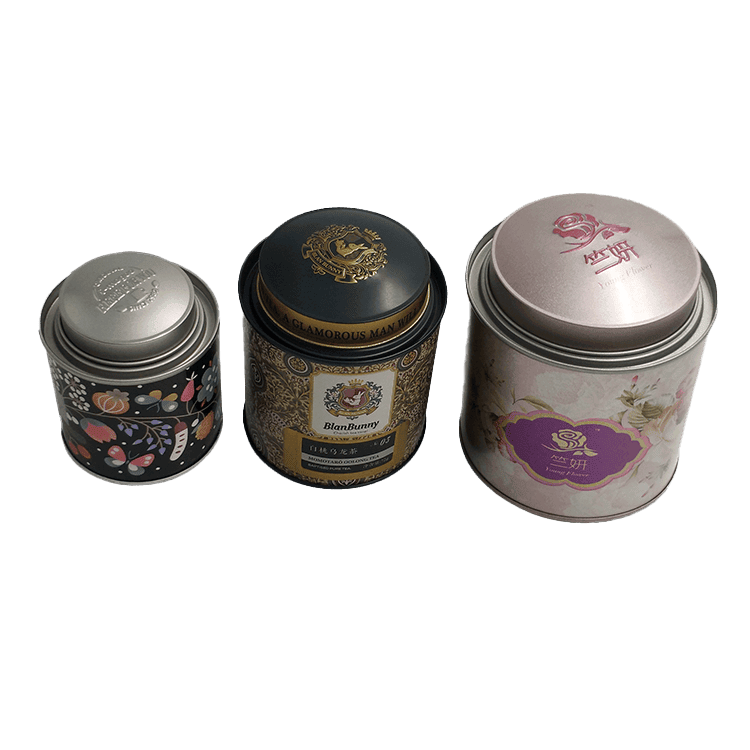
In an age where branding and personalization are key to standing out in a crowded market, customized printed tins offer an excellent opportunity for businesses to showcase their products in unique and memorable packaging. Whether you're packaging confectionery, tea, coffee, or cosmetic products, a well-designed printed tin can make a significant impact. This article will guide you through the process of customizing a tin from a printing perspective.
### Step 1: Understand the Basics of Tin Printing
Tin printing, also known as metal lithography, is a process where graphics are printed onto flat sheets of metal before being formed into tins. It involves several steps, from design to the final product. The most common printing methods for tins are offset lithography and digital printing.
### Step 2: Choose Your Tin
Before you begin the design process, you need to choose the shape and size of your tin. Consider what will be packed inside and how it will be used. Standard shapes include round, rectangular, and square tins, but there are also unique shapes such as heart-shaped or hexagonal available.
### Step 3: Create Your Design
- **Conceptualize**: Think about what you want your tin to convey. Will it be colorful and fun or sleek and sophisticated?
- **Graphic Design**: Use professional design software to create your artwork. Ensure that your design is in CMYK color mode, which is suitable for printing. Remember that your design will wrap around the tin, so consider how it will look from all angles.
- **Review Specifications**: Check with your tin manufacturer for any specific design requirements, such as bleed edges, resolution, and file formats.
### Step 4: Select a Printing Method
- **Offset Lithography**: This is the most common method for tin printing, ideal for large runs and when color accuracy is essential. It's cost-effective for large quantities but has higher setup costs, making it less suitable for small batches.
- **Digital Printing**: This method is better for smaller runs or when variable data (like unique codes or names) is required. It has lower setup costs and allows for greater flexibility with design changes.

### Step 5: Apply Special Finishes
After choosing your printing method, you can consider adding special finishes to enhance the appearance and tactile feel of your tin:
- **Embossing or Debossing**: This process adds texture by raising (embossing) or depressing (debossing) areas of the tin surface.
- **Varnishes**: A varnish can add a glossy or matte finish and can be applied to the entire tin or just specific areas, known as spot varnishing.
- **Metallic Inks**: For a premium look, metallic inks can be used to add shimmer and shine.
### Step 6: Proofing and Prototyping
Before the full print run, it's vital to proof your design. A digital proof will give you an idea of color and layout, but a physical prototype is best for understanding the final look and feel. Adjustments can be made at this stage if necessary.
### Step 7: Mass Production
Once you've approved the prototype, the design goes into mass production. The flat metal sheets are printed with your design, then cut, formed, and joined to create the final tin.
### Step 8: Quality Check and Delivery
After production, a quality check should be performed to ensure every tin meets the set standards. Once they pass inspection, the tins are packed and shipped to your location.
### Conclusion
Customizing a printed tin is a multifaceted process that requires attention to detail at every step. It offers a unique opportunity to create packaging that resonates with your brand and appeals to your target audience. By following these steps and working closely with your tin manufacturer, you can produce a distinctive product that stands out on the shelf and leaves a lasting impression on your customers.